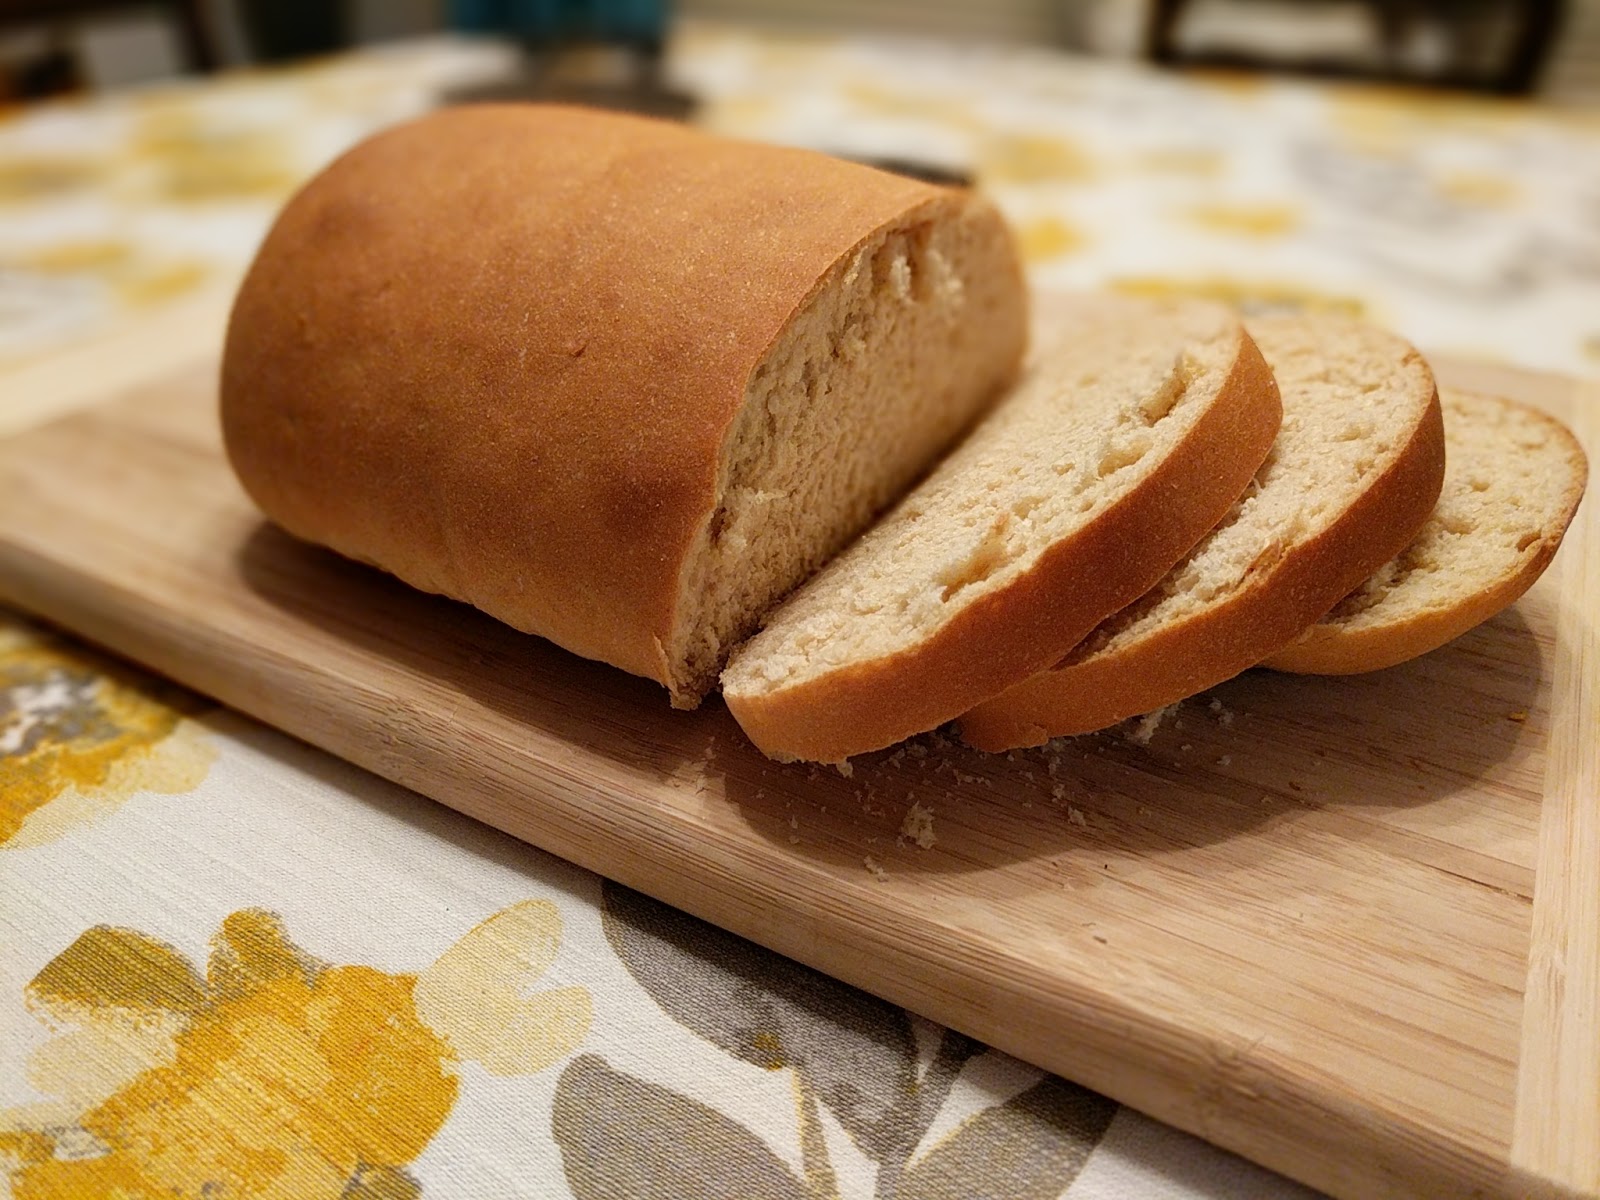
Photo courtesy: Dr. Debarshi Chatterji
Stand mixer recommended recipe
I try to stay fit and keep my weight in check but whenever Debarshi cooks his aromatic goat curries I always end up eating some extra rice (or Pulao). Really can’t control it and it happens every time! I think just one more ladle of rice wont be extra but before I know it, I am over weight and running in the gym. So, I decided to give up rice altogether and switch to an all bread diet. We in North India always include flat breads in our meals and believe me it is the healthiest bread cooked on stove top. There are no additional ingredients mixed in the dough, just some Whole Wheat flour kneaded with lukewarm water, rolled into circles and baked on stove top. We call the baked flatbread - Rotis and they go very well with all types of Indian sabjis and curries. Also, since Whole Wheat contains more grains it takes longer to digest and hence we feel full even after eating two thin Rotis.
When Debarshi is in office I usually try to eat something simple so that I don’t have to spend a lot of time in the kitchen wondering what to cook for myself and for me sandwich is always a good option. I have been buying Whole Wheat breads from the bakeries for some time now and it occurred to me that I can try baking a Whole Wheat bread from scratch. Needless to say, for a baking enthusiast, baking a homemade warm crusty bread is always an attraction. So, I started looking on the internet for some simple Whole Wheat bread recipes. Now this is not a 100% Whole Wheat bread but this is definitely better than the store bought ones.
Now you may ask why the fascination with Whole Wheat? What’s so special about it? well, Whole Wheat has more fibers which help in the digestion, lowers cholesterol, blood pressure and helps control the weight. Last year when Debarshi and I were doing the LCHF (Low Carb High Fat) diet, I realized that despite eating plenty of vegetables and meat, I was having trouble with my digestion. We then found some no carb bread recipes which helped us during our diet. I think we are so used to the idea of eating bread that we cannot imagine living without it. Well, with this bread recipe you may never have to skip eating bread again.
Another good thing about baking a homemade bread is, I can be assured about the quality. Store bought breads have added preservatives which helps them to stay fresh for a longer period of time. I usually bake this bread over the weekends and consume it within a week. I keep this refrigerated all the time and lightly toast it before consuming. As you know, breads are versatile and can be paired with literally anything which means you can use this bread not only for making a PB&J sandwich but also with your favorite deli and cheese. You can also eat it with a leftover curry or Sabji.
Last week I baked a baguette using this bread recipe and it turned out really good. You can also make rolls or burger buns with the same recipe. Remember this is a homemade healthy bread so it may not be perfect but it is every bit nutritious.
Ingredients:
- Whole Wheat Flour - 2 Cups (sifted)
- All Purpose Flour – ½ Cup + ¼ cup for kneading + 2-3 tablespoons (for dusting the surface while kneading)
- Active Dry Yeast - 2 Teaspoons
- Sugar - 2 Tablespoons
- Salt - 1 Teaspoon
- Milk – 1 Cup (I use 2%), Heated to 120-130° F
- Olive Oil - 2 Tablespoons
- Egg - 1 (at room temperature)
Directions:
- Place all the dry products in the mixing bowl (Whole Wheat Flour, ½ cup All Purpose Flour, Active Dry Yeast, Sugar and Salt).
- Attach the flat beater to the stand mixer.
- Start the mixer on the lowest speed then add the Milk, Olive Oil and Egg.
- Increase the speed to medium high - high and beat for two minutes.
- This will ensure that everything gets mixed properly.
- Now turn down the speed to low and start adding about ¼ cup of All Purpose flour. We are doing this to turn the mixture into a dough mass. Note: You may need a little more than ¼ cup of flour for this step.
- Now clean a surface on your kitchen counter and dust it lightly with the All Purpose Flour.
- Turn all the dough onto this floured surface and knead 50 turns. Pull a part of the dough and fold it inside, press and push the dough a little with your palm, flattening it, then repeat the steps.
- Cover and let the dough rest for 10 minutes.
- You do not need to put the dough into any warm place for this step. Note: Do not be tempted to let the bread rise for too long.
- Now shape the dough into any shape you want. It can be a loaf, round, rolls or a baguette.
Let’s bake a loaf:
- Grease a 9X5 inch bread pan and place the rolled loaf into this. It should be rectangular in shape.
- Cover the dough lightly with a clean kitchen towel and let it rise in a warm spot until it’s about one inch taller than before.
- After 35 minutes, preheat the oven to 375° F.
- Bake for 30 minutes.
- If you want a light golden brown color on the bread then after the first 15 minutes, cover the top of the loaf with a foil tent to prevent over-browning. Note: To put the foil on top of the bread, scrunch the foil and make a dome shaped tent with it. This helps to cover the bread easily.
Let’s bake some rolls:
- Divide the dough into 4 or 6 pieces and roll them between your palms to form round shapes.
- Place the shaped rolls in a cookie pan lined with a greased parchment paper.
- Cover the rolls lightly with a clean kitchen towel and let them rise in a warm spot until it’s about ½ inch taller than before.
- After 45 minutes, preheat the oven to 350° F.
- Bake for 14-16 minutes.
Let’s bake a Baguette:
- Roll the dough into a long rectangular shape. Roll gently back and forth to reduce the thickness toward one end.
- Place the shaped loaf in a pan lined with a greased parchment paper.
- You may score the loaf at this step if you have a sharp knife or a scoring blade. Make deep diagonal slashes across the loaf every 2 inches, or make one lengthwise slash on the loaf.
- Cover the loaf lightly with a clean kitchen towel and let it rise in a warm spot until it’s about one inch taller than before.
- After 40 minutes, preheat the oven to 375° F.
- Bake for 30 minutes.
- If you want a light golden brown color on the Baguette then after the first 15 minutes, cover the top of the Baguette with a foil tent to prevent over-browning. Note: To put the foil on top of the Baguette, scrunch the foil and make a dome shaped tent with it. This helps to cover the Baguette easily.
Tips:
- This bread may get a bit crumbly and dry so use a nice bread knife to cut the slices and don’t forget to add a layer of low fat dressing to make a moist sandwich.
- Use cucumbers to moisten the sandwich.
- Never use expired yeast or flour to bake products. Remember you are putting your time and effort in this and expired ingredients are likely to fail.
- Substitute sugar with a zero calorie sweetener like Truvia.
- Usually 1 minute 15 seconds in my microwave on high is the perfect temperature for the Milk.
- I prefer to bring the eggs to the room temperature before adding them in any batter or dough. This makes them easier to mix with the other ingredients.
- Always transfer the hot bread to a cooling rack.