Featuring over 350 tried and tested recipes that can be prepared at home. From comfort food to restaurant style. Plus 110+ articles on Kitchen and Cooking Tips, Restaurant Reviews and more.
Showing posts with label Simple Chocolate Cake. Show all posts

Monday, 25 February 2019

Mary Berry’s Victoria Sandwich Cake


I am always interested in easy recipes. Yes, baking a huge multi tiered cake for a special occasion is always fun. However, I believe there should be a couple of easy recipes which you can bake within a short time. This Victoria Sandwich cake is one of those easy bakes you will want to prepare time and again. I got this recipe from Mary Berry's BBC website. This is a traditional and classic recipe and makes for a tasty tea-time treat.

I don’t think I will ever go back to just buying a cake from the bakery. All of my homemade cakes taste so fresh. They may not always be a show stopper but they taste so much more! Plus, I get to lick the bowl and Debarshi and I get to sweetly offer each other the last slice. The biggest happiness is, sharing it with your friends and loved ones.


Victoria Sandwich is one of those homey cakes which can be prepared very easily and within a short time. If you have friends coming over for tea or just want to bake a quick dessert nothing goes better than Victoria Sandwich. I am sure other flavors of tart jam will also go very well (like Strawberry, Apricot or Blackberry) making it versatile. Just make sure to use the best quality of jam or preserve because it will enhance the overall flavor. I used Bonne Maman.


A fun fact about the cake – here I have converted all the measurements into cups but originally it was in ounces. ½ cup = 4 oz. Do you see it now? Everything weighs the same! Flour, butter and sugar are each of 4 oz. I guess all the old recipes follow this same weighing technique, after all it is so easy to remember!

Again, why this cake? because it uses my favorite method – all in one. This means that all the ingredients of the cake will be added together, mixed until smooth and then baked. Easy Peasy! I used my stand mixer to mix the batter. If you would rather prefer creaming the butter and sugar first, you can always do that. However, the result (in this case) will be the same.


I am sure I saw this cake in the bakery shops during our London trip. However, due to its simple decoration I must have skipped it. Little did I know that I was judging the book by its cover! This soft well risen cake dusted with sugar looks like a delicious holiday treat!

Another thing I didn’t know about this cake was, it was named after the Queen herself. Yes, I am talking about Queen Victoria who used to enjoy this cake with her afternoon tea. Well, don’t we feel royal. It was originally baked in the shape of a long loaf, filled and cut into fingers or ‘Sandwiches’. With time its shape changed from loaf to round and the recipe got improvised as well. You may see me below cutting this cake on my birthday party but mind you, this cake is not meant for elaborate celebrations. This is a small everyday cake meant to accompany tea or in my case – Coffee.


When I baked and filled this cake I had no idea that I was actually following the original recipe! It so happened that I was going to pick Strawberry Jam when Debarshi said, let’s take Raspberry. Later I read that traditionally this cake was only filled with Raspberry Jam and dusted with sugar on top and I thought, Wow! Nailed it the very first time.

Victoria Sandwich is a dense cake and hence many recipes suggest serving/ layering it with whipped cream or buttercream. I chose to bake the original simple version because it goes very well with a cup of hot tea or coffee. Plus, because it does not have any cream in it, it stays better. I think I will continue to fill it only with raspberry jam because this cake tastes so good just like that. It does not have any additional flavoring in it which is great because the buttery, tender sponge cakes with the thick layer of jam is very indulging on its own. Debarshi and I shared a piece with our morning coffee and it tasted so good that we both got seconds.


The original recipe asks for Self Raising Flour which as it happens I never have in my pantry! Self raising flour is actually all purpose flour (1 cup) with baking powder (1 ½ teaspoons) and salt (½ teaspoon). So, instead of going to the market in the snow storm (Kansas City is having a lot of snow this year!) I went with the all purpose flour and adjusted the quantity of baking powder and added salt.

When serving in tea parties, you can bake several batches of small cakes and fill them up with different flavors of jams and preserves. Fill some with whipped cream and others with buttercream. It will seem that you have baked varieties of cakes whereas technically you have only baked one. You can also fill/ top/ serve the cake with some fresh fruits. Hopefully your friends will also love this cake as much as mine did.

Try this cake and post in the comments section your feedback. Any ideas and suggestions are welcome.

Ingredients:
  • Eggs – 2, large 
  • Butter - 4 Oz (or 1 stick), Unsalted, softened, plus a little extra to grease the tins
  • White Sugar – 112.5 grams, plus a little extra for dusting the finished cake
  • Self-Raising Flour – 112.5 grams 
  • Baking Powder – 1 teaspoon
  • 2 X 6 inch pans -  greased and lined (please use butter and parchment paper)

To make self raising flour at home you need:
  • All-Purpose Flour - 1 cup (120g) 
  • Baking Powder - 1 ½ teaspoons 
  • Salt - ¼ teaspoon 

Sift together all three ingredients then measure before adding in the cake, you only need 112.5 grams.

For The Filling and Topping:
  • Raspberry Jam or Preserve – 2 tablespoons (I recommend Bonne Maman)
  • A little icing sugar, for sprinkling
  • Whipped Cream – 1 cup (optional)


Directions:
  • Measure all the ingredients and keep them aside. Make sure the butter and eggs are at room temperature.
  • Grease the baking pans. Use butter for better coating. Line the bottom of the tins with a circle of parchment paper and grease them as well.
  • Preheat the oven to 350 F. 
  • Break the Eggs into a large mixing bowl, add the Sugar, Salt, Flour, Baking Powder and Butter. Mix everything together until well combined. 
  • Tip: Be careful not to over-mix – as soon as everything is blended you should stop. The finished mixture should be of a soft ‘dropping’ consistency. Don’t worry if the batter appears curdled.  It has no bearing on the cake (just look at the batter in my video). 
  • Divide the mixture evenly between the tins. Use a spatula to remove all of the mixture from the bowl and gently smooth the surface of the cakes.
  • Bake in the pre-heated oven for about 20 minutes or until well risen.  Don’t be tempted to open the door while they’re cooking. Use a skewer to check if the center has been cooked through. The cakes are done when they’re golden-brown and coming away from the edge of the tins. Press them gently to check – they should be springy to the touch. 
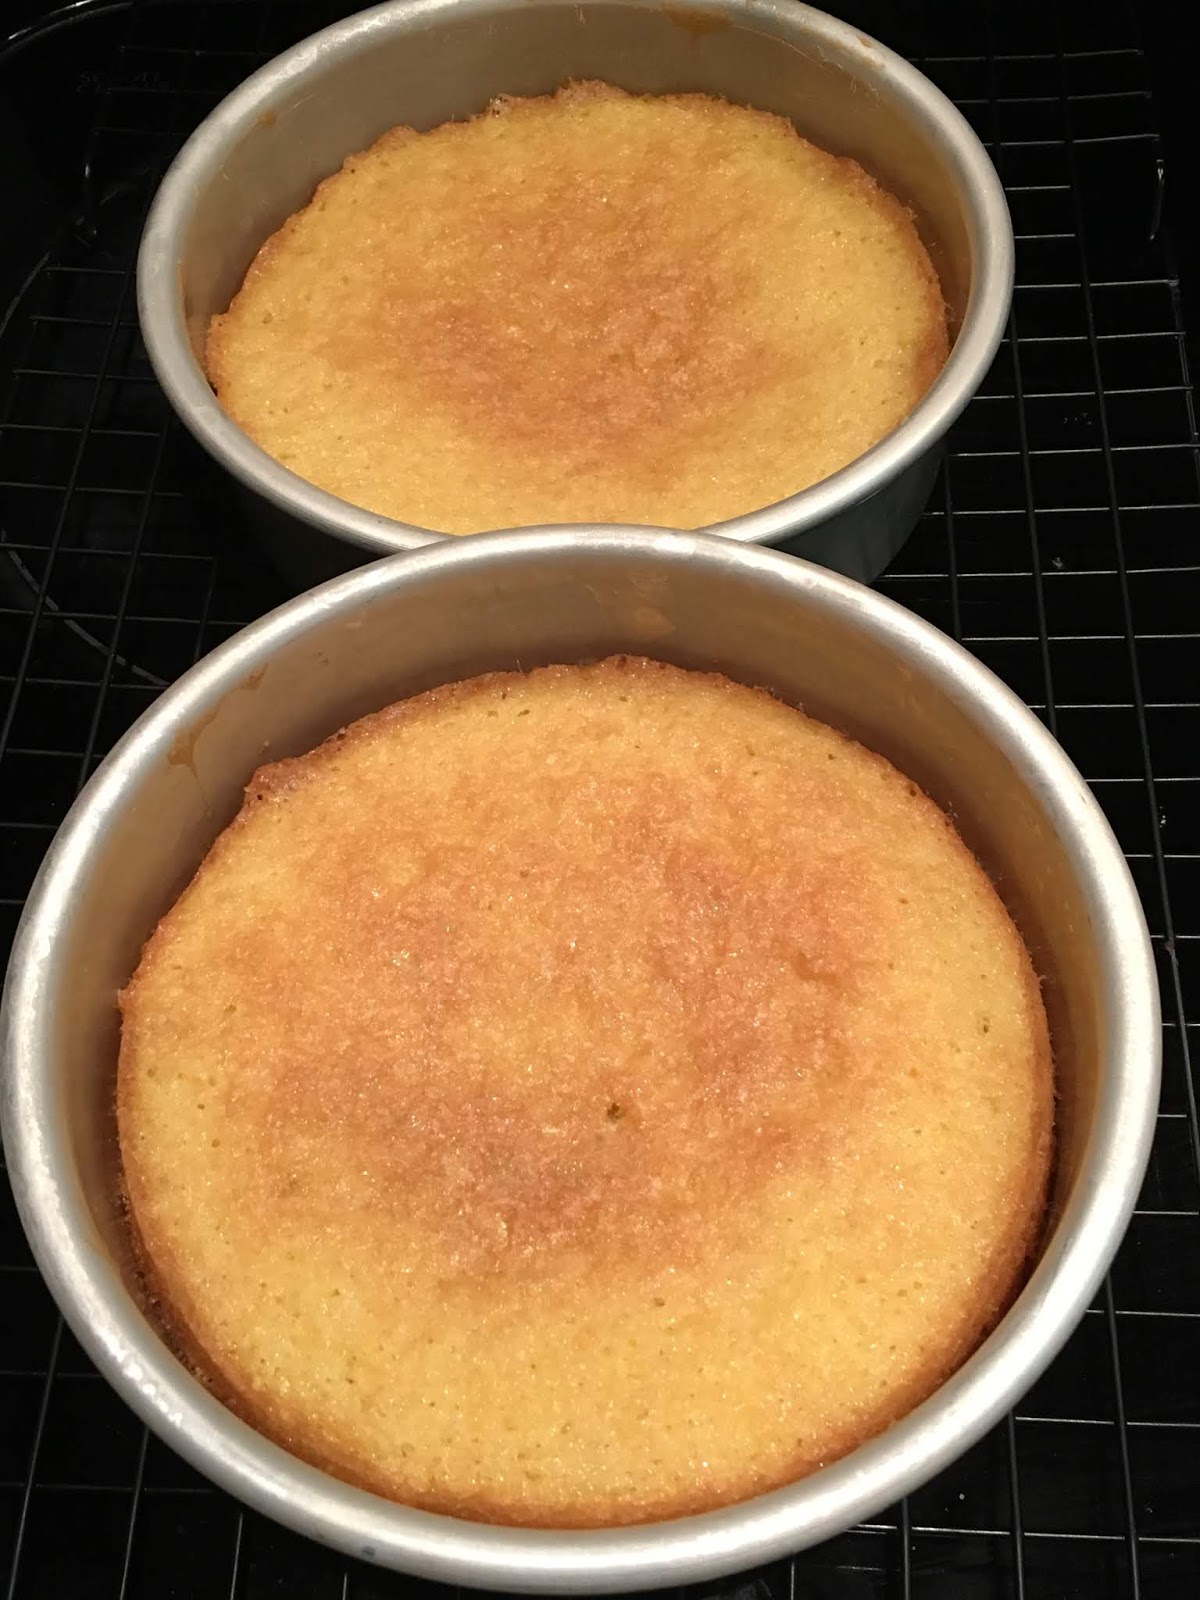


  • Remove them from the oven and set aside to cool in the tins for 5-10 minutes. Then run a palette or rounded butter knife around the inside edge of the tin and carefully turn the cakes out onto a cooling rack.
  • When completely cold, choose the sponge with the best top. Sandwich the cakes together with the jam (use an offset spatula to spread the jam). Sprinkle with icing sugar to serve. You can also decorate with whipped cream and strawberries.
  • Enjoy this delicious Victoria Sandwich cake with Tea or coffee.


Some more easy recipes you may like:

Friday, 30 November 2018

Boozy Christmas Fruitcake


Photo Courtesy: Dr. Debarshi Chatterji
Recipe Inspiration: Mary Berry


At my mom’s Christmas is always celebrated with a big round fruitcake and puff pastry stuffed with spiced potatoes. Earlier she used to bake a lot and mind you, our Indian homes don’t have convection ovens (because most of the cooking is done on stove top). So, she used to bake in a big pressure cooker lined with brown paper. All four of us (mom, dad, me and sis) had our own roles in the cake baking. So, someone will be chopping the nuts and someone else will be weighing the ingredients or mixing the batter. It was a tiresome work and it used to take hours for the cake to get ready. We used to be so excited at the thought of eating it that often we would stay awake for hours for it to finish baking. Oh! I don’t think my mom has ever baked anything as beautiful or delicious as that cake. 


Later, when I started working in Delhi, sometimes mom used to send me a care package. It would have tons of things along with a huge piece of that yummy fruitcake. I think, recently she has stopped baking it from scratch because of all that work. However, they still maintain that sweet tradition of having it on Christmas (be it bakery bought).

It was my first Christmas after coming to the U.S., Debarshi had gotten me varieties of baked goods. I was thoroughly enjoying them but somehow you know, I was still missing that fruitcake and then it happened...


My best friend (Vicki) got me a piece of fruitcake baked by her mom and immediately it brought back all those sweet memories. In the last five years I have baked her mom’s recipe quite a few times. This year, I thought, I am going to try an English recipe and who else is best at English baking than Mary Berry. Now I have improvised a couple of things according to easy availability and cost however, the cake tasted every bit as authentic and delicious as it should be. I think this fruitcake is going to be a part of our Christmas tradition now.


This cake is every bit rich, magnificent and full of delicious dried fruits which you can add according to your choice! The spices make it taste very Indian (or should I say very English?). 

Let’s start with soaking the fruits. The original recipe suggested just ¼ cup of brandy, however, I have used ½ and ¼ cups of rum which surprisingly didn’t taste strong at all. I would recommend not to use an expensive booze for soaking and feeding the cake. Also, please do not serve this to any kids. Some things are best kept aside for the grown ups only.


A little planning ahead goes a long way for this cake. Yes, you will still have to wait a couple of days to finally eat this cake (because of the soaking and feeding), however, the result will be every bit worth the wait. This cake is sooooo good, so make sure to savor every bite. I am telling you, it will be difficult to keep your hands off the cake and it will be gone before you know it. Please do not skip any step otherwise it wont turn up quite as boozy as it should be. It takes a while for the flavors to mature and the alcohol to infuse well. It should not strike your taste buds as loaded with alcohol but just feel like a hint. Now don’t be greedy and over feed the cake because it may make it soggy. There should be a mild touch of booze in the cake so that it tastes fruitier.

Now if you are one of those people who don’t like fruitcakes, then this cake will convert you. Believe me, this isn’t another one of those candy filled cakes. There is a lot of time, cost and effort in this cake along with organic and fresh ingredients. Still thinking of a reason? I will give you two - booze and sugar. If you love drinking and sweet treats, you will love this cake. If you would rather like a non-alcoholic cake, then I read somewhere that you can substitute the Rum with apple juice. Also, since there is almost no candied stuff in it, you can have it anytime! Yes, perfect to satisfy those fruitcake cravings during the summer months (when normally you wont find the candied cherries in the market). Bake this cake whenever you want and satisfy your heart.

This boozy Christmas cake is amazing! You will taste the delicious dried fruits with a hint of the spices. Yes, that is one of the best things about this cake. We usually have all these spices in our pantry and we need just a little for the cake. Please do not get confused with the ingredient - Mace. It does not mean pepper. Mace is an aromatic spice used widely in Indian and English cuisine. If you don’t have Mace at home, you should definitely buy a pack from the Indian store because it is also used in a variety of other dishes (like Kababs, Biryani and Pulao). 


Now you can very well use whatever nuts or dried fruits you like best. However, do not change the amount of the fruits which is 5 cups. I know, it is astonishingly high! That is why we have to bake it at a low temperature for a longer time so that nothing burns. This cake is moist, rich and so fruity! We are totally spoiled now! After having this delicious homemade cake, we cannot even think of buying a fruitcake from a bakery. 

I am not sure you will have any leftovers from this delicious cake to eat later. You can always save a piece by freezing it. Just transfer the piece of cake in a zip lock bag and tuck it away before it’s all gone. Even while feeding the cake, I would recommend refrigerating it so that its shelf life increases.

Now don’t wait, plan this fruitcake for this Christmas so that you can enjoy a big slice while listening to Christmas carols and decorating your shiny beautiful tree. I am so fond of dried fruits that I have already eaten quite a lot while preparing, baking and feeding the cake. Just don’t ask me to account for the Rum!


Ingredients:
  • Corn Syrup - 1 tablespoon, light or dark 
  • Dried Apricots - 1 ¼ cups 
  • Dried Cherries - 1 cup 
  • Golden Raisins -  ½ cup 
  • Dates - 1 cup 
  • Dried Figs - 1 ¼ cups 
  • Rum – about 1 cup
  • Lemon – 1, un-waxed, finely grated zest only
  • Orange – 1, un-waxed, finely grated zest only
  • Orange Extract - ½ teaspoon 
  • Brown Sugar – 1 ¾ cups 
  • All Purpose Flour – 1 ¼ cups 
  • Nutmeg - ½ + ¼ teaspoons 
  • Ground Cinnamon - ¼ teaspoon
  • Ground Mace - ¼ teaspoon
  • Ground Cloves - ¼ teaspoon 
  • Butter – 14 Oz (or 3 ½ sticks), softened, unsalted
  • Walnuts - 5 tablespoons, broken
  • Eggs – 5, large
  • Candied Peel of 1 Orange (Click for the recipe)

The original recipe suggested many things (like Black Treacle, All Spice, Mixed Spice etc.), some of which were not available easily and some were too expensive. While trying a new recipe, I always keep in mind the over all cost. I baked the cake using substitutions and it worked.

The original recipe also asked for currants, sultanas, raisins, glacé cherries, apricots and mixed peel. We went to Costco and got big packs of dried fruits. You can also vary the fruit if you like (like I did), but make sure the total weight remains the same as given in the recipe (5 cups).


Tips: 

  • ¾ cup is ¼ * 3 (for the sugar).
  • You can use the Mortar and Pestle to grind the spices.


Let’s do some preparations:
  • Chop all the dried fruits (Apricots, Cherries, Dates and Figs) and put them in a bowl along with the Golden Raisins. Dip the knife in water occasionally to cut the dried fruits smoothly.


  • Dip the dried fruits in ½ + ¼ cups of Rum in a large bowl.
  • Add the Orange Extract and mix everything well.
  • Cover the bowl and transfer to the fridge.


Tips: 
  • The original recipe asked for ¼ cups of Brandy for this. So, if you want you can reduce the amount. However, I should mention here that even though I used more amount of Rum, my cake didn’t taste too alcoholic.
  • Also, make sure to do this step at least 48 hours before you bake the cake so that the dried fruits become plump. 


Directions:
  • Lightly grease a 9-inch-deep round cake pan.
  • Cut a strip of baking parchment to cover the sides of the pan.
  • Put a circle of baking parchment into the base of the pan and lightly grease it.
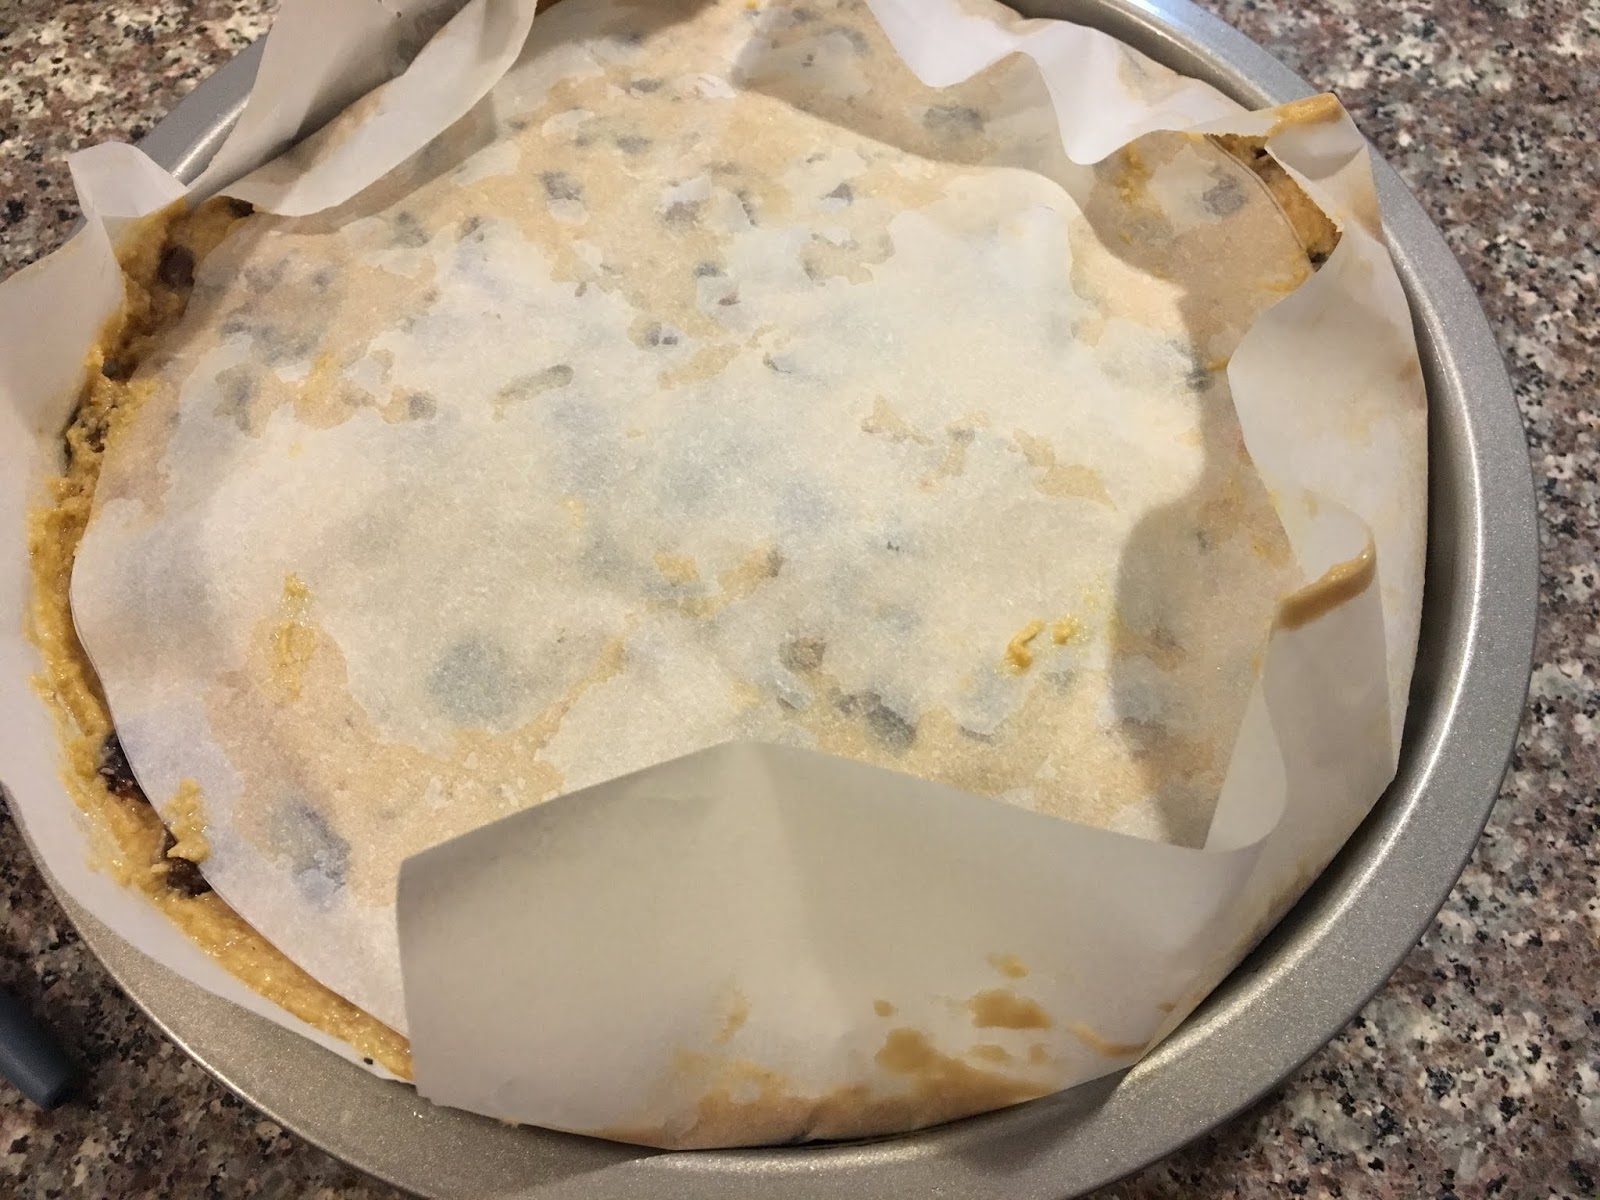
  • Cut another piece of parchment big enough to cover the top of the pan. This will be placed on top of the cake so that the long bake does not dry it out.
  • Preheat the oven to 275 F.
  • Start the mixer on the lowest speed, beat the Butter.
  • Start adding the other ingredients one by one - Sugar, All Purpose Flour, mixed spices (Nutmeg, Ground Cinnamon, Ground Mace and Ground Cloves), Eggs, Corn Syrup, Lemon zest, Orange zest and chopped Candied Peel (leave out a few good pieces for decoration) and beat well.


  • Fold in the walnuts and soaked fruits.


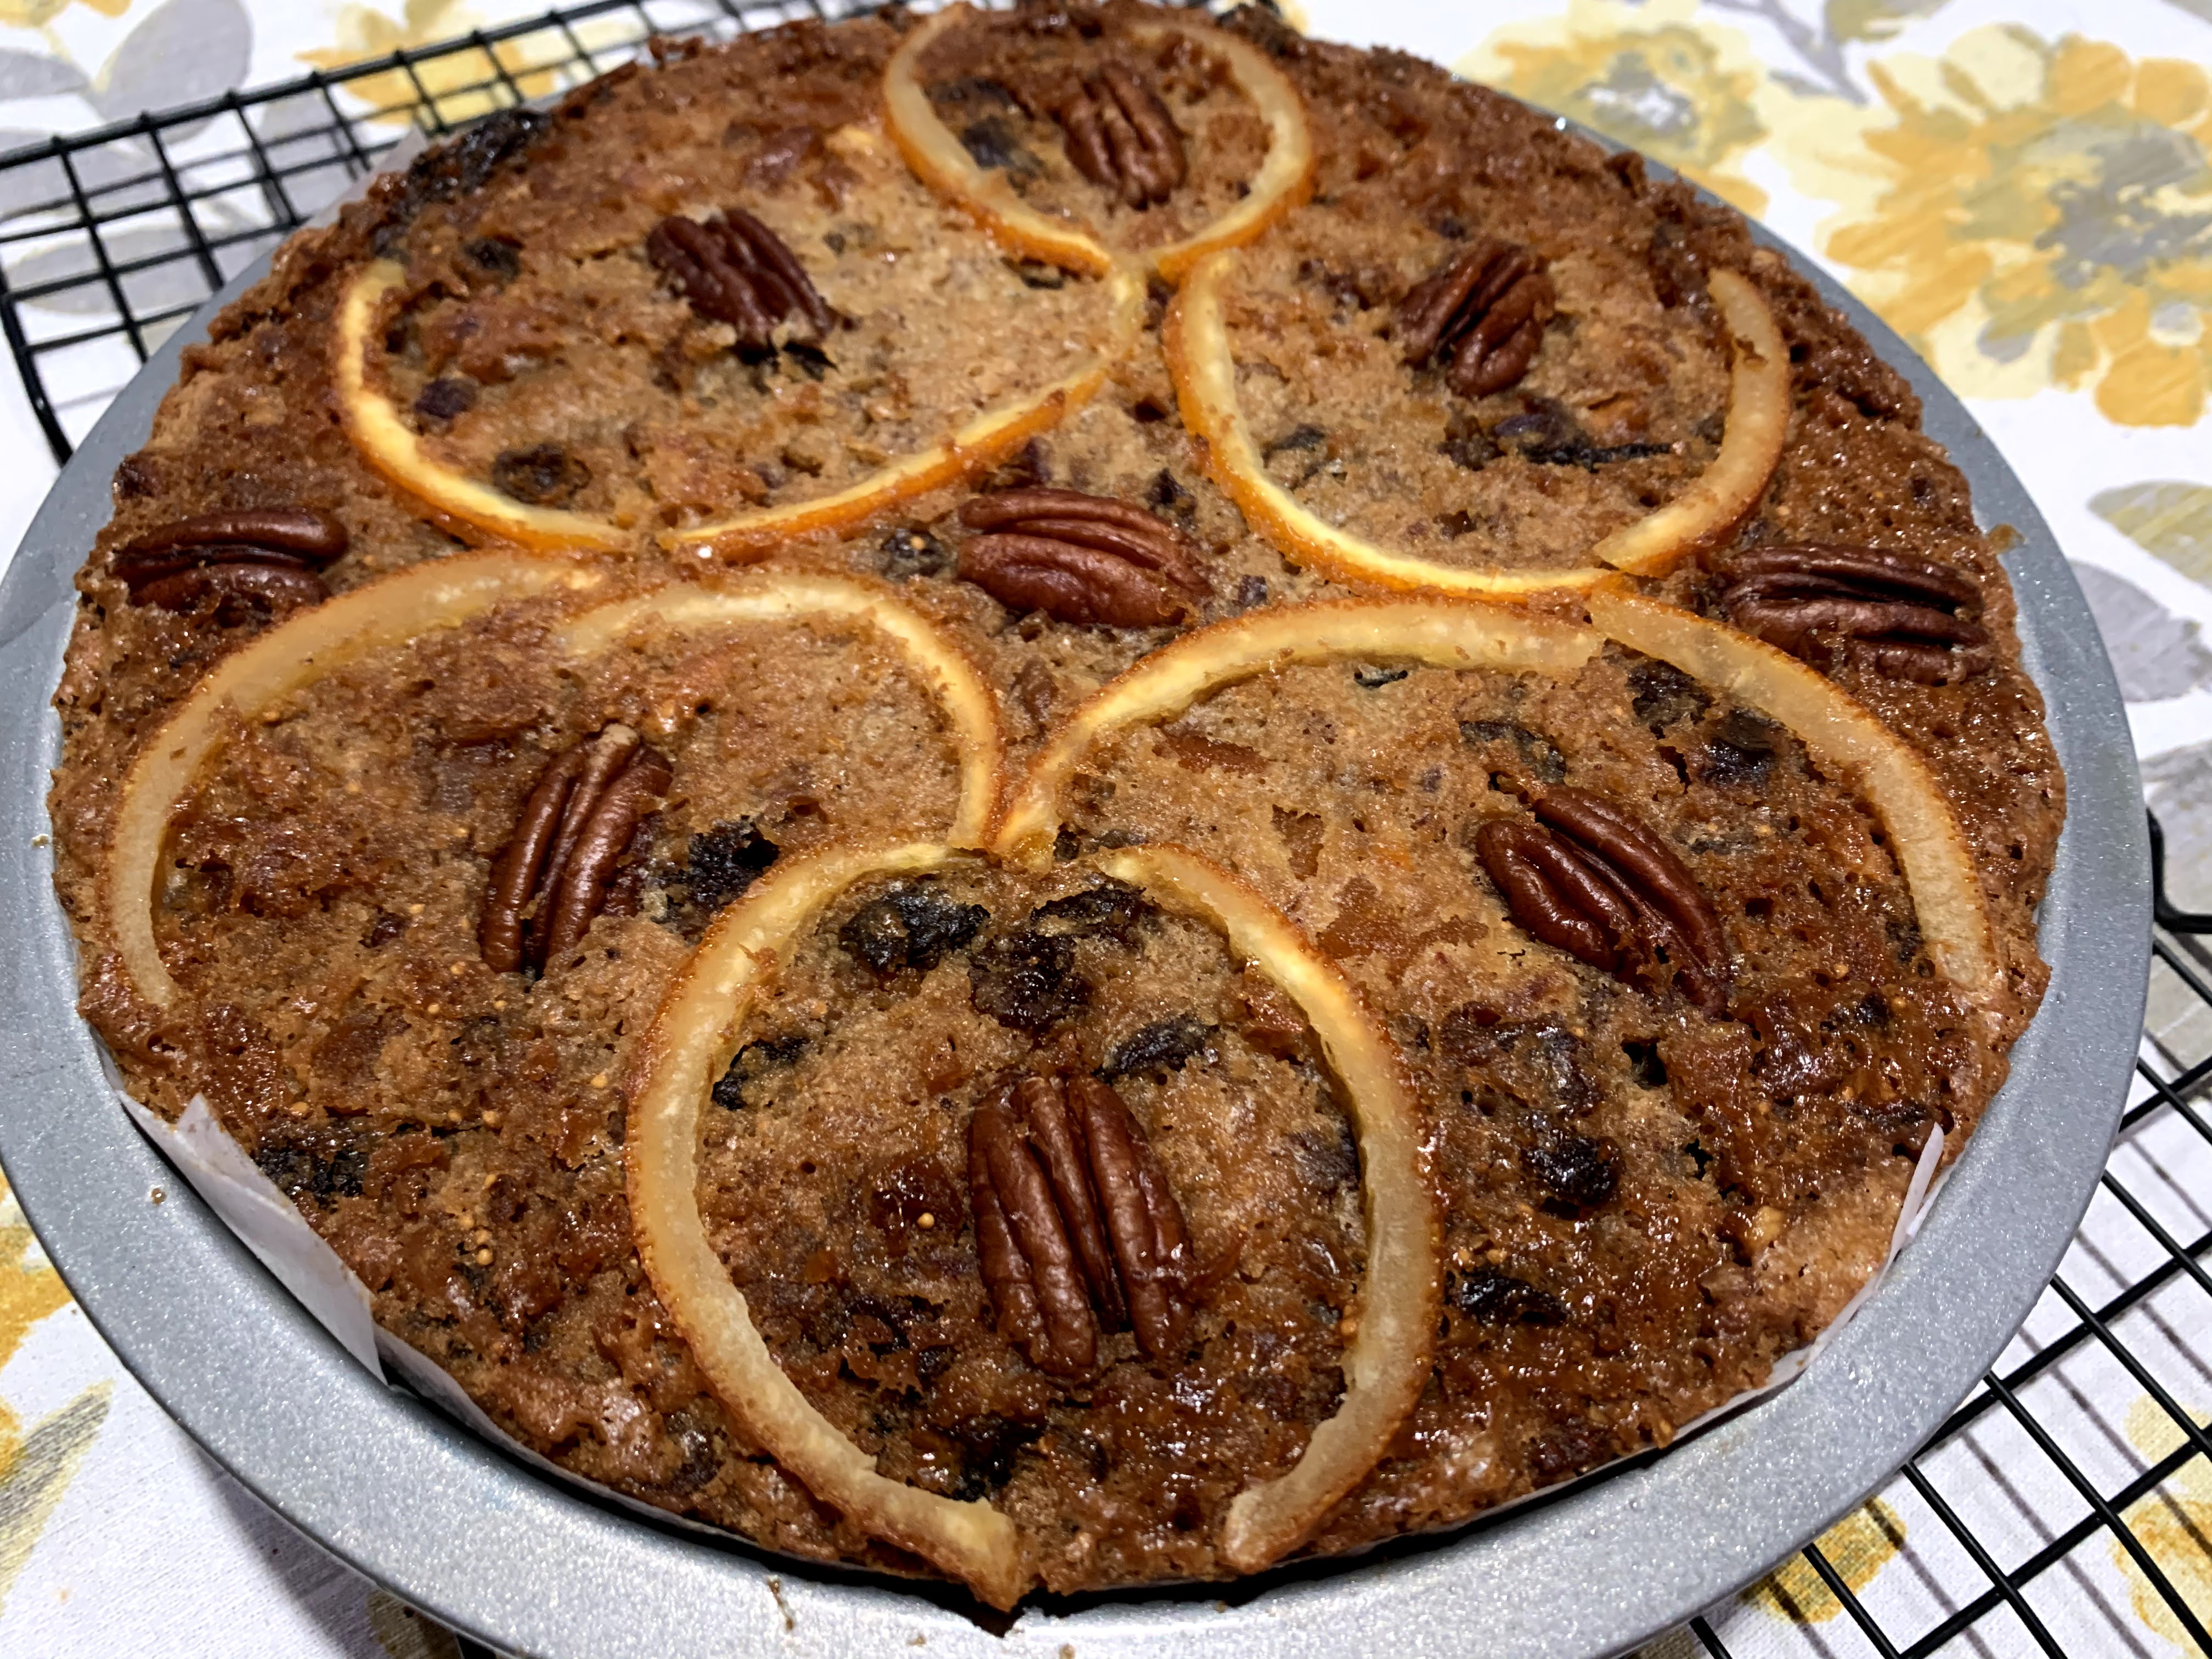
  • Spoon the mixture into the prepared cake tin and spread out evenly with the back of a spoon. Decorate the top with the remaining candied peels (you can also use walnuts, almonds, apricots)


  • Cover the top of the cake loosely with a layer of parchment paper. Bake for 4 hours, or until the cake feels firm to the touch and a skewer inserted into the center comes out clean. Allow the cake to cool in the pan (on a cooling rack).


  • Feed the cake with a little splash of rum (do not take out the cake from the pan at this stage).
  • Repeat this step for at least 3 days. You can refrigerate the cake if you want.


Boozy Christmas Fruitcake is ready to be shared with friends and family.


You can also freeze the cake. Just put it in a zip-lock bag and transfer to the freezer.


Tips: 

  • Can't find a toothpick to test your cake? A skewer works just as well.
  • To grease your baking pan with ease, rub butter or oil around the baking pan using a piece of paper towel.
  • The recipe works well for two 6-inches cakes. Just bake them at the same temperature for 3 hours.
  • Not a fan of alcohol or serving to kids? Brush a little simple syrup or warm honey on the cake to bring that glazed look.


Tuesday, 14 November 2017

Yummy Brownies


Photo Courtesy: Dr. Debarshi Chatterji


A few weeks back I started watching a series called ‘The 70s Show’ and in it they always show Mrs. Forman baking Brownies. She is one of the main characters in the show and is portrayed as a very loving, caring and joyful mother who loves to take care of her family and friends and she loves to bake! She bakes for fun, she bakes when she is stressed and she bakes to make everyone happy and one of her most frequent bakes is Brownies. They have been showing it so frequently that I started craving to bake and eat some delicious Brownies. So, I looked up a recipe and gave it a try. Result? Delicious mouth watering chocolate rich brownies. The best part about this recipe is, you wont even need a stand mixer or a hand beater. Just a bowl and spatula with the ingredients and you are ready. Measure, mix, bake and above all enjoy! I followed the example of my favorite character and shared this with everyone I know and believe me it made me as happy as Mrs. Forman!

Happy Baking!


Ingredients:

For the Brownie - 
  • Unsalted Butter – ½ cup (or 1 stick) + more for greasing the pan
  • White Sugar - 1 cup (or ½ cup Truvia)
  • Eggs - 2 
  • Vanilla Extract - 1 teaspoon 
  • Unsweetened Cocoa Powder - 1/3 cup 
  • All-Purpose Flour – ½ cup + a handful for flouring the pan
  • Salt – ¼ teaspoon 
  • Baking Powder – ¼ teaspoon 


For the Frosting - 
  • Unsalted Butter - 2 tablespoons, softened 
  • Unsweetened Cocoa Powder - 1 tablespoon
  • Honey - 1 tablespoon 
  • Vanilla Extract - ½ teaspoon 
  • Confectioners' Sugar - 1 cup 


Tip: 
  • Keep the Butter outside at room temperature so that it softens. Do not melt it in the microwave as it will make the frosting very runny.


Directions:
  • Grease and flour an 8-inch square pan. I used cold butter for this step, I rubbed it all over the pan using my fingers for a smooth even spread, specially around the edges. 
  • To flour the pan, add a handful of flour on the pan and move it around so that it sticks on the butter. Then tilt the pan upside down over the sink so that the extra flour falls off.


  • Place the Butter in a large microwave safe bowl and microwave for a minute so that it melts. You can also do this step in a saucepan over your stove top.
  • Preheat the oven to 350 degrees F.
  • Now remove from butter from heat (or take out the bowl from the microwave), and in the same bowl, stir in the White Sugar, Eggs and Vanilla Extract. 
  • Sift in the Unsweetened Cocoa Powder, All-Purpose Flour, Salt and Baking Powder and beat them together. 


  • Spread the batter into the prepared pan. Smooth with a spatula.


  • Bake in the preheated oven for 25 to 30 minutes (Do not overcook).

Tip: Prepare the frosting while the Brownie is in the oven. See directions below.
  • Once baked, take it out of the oven and transfer to a cooling rack. Don’t take the brownie out of the tray yet. Switch off the oven.


Let’s make the Frosting: 
  • While the Brownie is baking, let’s prepare the frosting. Now you can very well skip this step, however, if you are planning to apply the frosting, make sure to utilize the baking time so that the frosting spreads evenly over the warm brownies.
  • Combine the Unsalted Butter, Unsweetened Cocoa Powder, Honey, Vanilla Extract and Confectioners' Sugar in a small bowl.
  • Stir until smooth. 


  • Frost brownies while they are still warm. 
  • Let the frosting set, allow the brownies cool down a bit then cut them into big pieces and serve.


Tips:
  • If you have any leftover plain icing, use it for this.
  • If your icing is in the freezer, make sure to keep it outside for 2-3 hours, prior starting the baking. This will give it ample time to soften up. Do not microwave!


Recommended Reading:

Friday, 21 July 2017

Basic Kitchen Measurements


I love baking because it follows some very basic rules of mix and match and the result is always something delicious. It is essential to measure each and every one of your ingredient properly before mixing them all together. Just imagine if you added extra salt or leavening agent in your batter. Mistakes happen when we eye ball ingredients because no two ingredients are same. Cracking and dropping an egg directly into the batter looks appealing but have you ever dropped a piece of shell along with the egg yolk? Same goes for the butter, try creaming it without bringing it first to the room temperature and you will be at it for quite some time. It’s the little tips and tricks which make our life easier and baking so much fun. So today I am going to share with you a few tips:

Buy measuring spoons and cups:
Now this may seem unimportant but believe me it makes everything so easy when you are using 1 teaspoon as per the standard unit of measurement. The spoons we use everyday in our kitchen are not fit for this job and should not be used for it. The same goes for measuring cups, do not use your tea or coffee cups when it comes to baking, always use standard measuring cups. 


How to measure liquids?
To measure liquids like Buttermilk, Milk or Vanilla Extract, place the measuring spoon or cup on your kitchen counter or any flat stable surface. Then fill it till it’s full. Make sure that you are not measuring any liquid over your mixing bowl as you may easily spill thus increasing the amount of the liquid in your batter.  


How to measure dry products?
To measure dry products like Flour, Baking Powder, Soda, Salt and Sugar, one technique is to fill the spoon or cup with another spoon and then level it off with the straight edge of a knife. I usually follow the dip and sweep method, which is done by dipping my measuring cup or spoon directly into the container in which I have my flour, sugar etc. I fill the cup with the product and lift it out. Then I use the straight edge of a knife to level off the top. 


To measure Brown Sugar or Cheese fill the spoon or cup and then lightly press it to release any air pockets. 


To measure Cream Cheese and Butter, I prefer to use the measurement given on the pack or wrapper itself. The lines clearly indicate where you need to cut to get the exact number of tablespoons or ounces. 


Eggs – Large or Extra Large:
You must be thinking why am I mentioning Eggs in this article because we don’t measure eggs with cups or spoons. The reason is, they are an integral part of our baking world. We need eggs for almost all the recipes and although it is the simple part, it can be quite challenging at times. 

Now, you will always find clear instructions in your recipe about eggs and the simplest way is to buy the type of eggs mentioned in the recipe itself (large or extra large). Remember using a different size of egg in your recipe will change the overall outcome.


Now, sometimes the recipe will ask you just for the egg white or yolk of a large egg. For a new baker this may seem overwhelming and this maybe one of those things where once you try it, it becomes easy. Believe me, it’s really easy to separate the egg white and yolk and you can easily do it at home, yourself without having to spend extra money on it. 

First make sure you are using refrigerated cold eggs, this will prevent the yolk from breaking out. Place a bowl in front of you, tap the center of the egg on a flat surface like your kitchen counter. Hold the egg over the bowl and slowly pull apart the two cracks to widen them. When it starts breaking, place your other hand below it in a cupped form. The white will run through your fingers while the yolk will stay on. If you have to crack more than one egg, use a different bowl every time so that in case of any mistake your previous batches are not ruined. Check the bowl for any shell fragments. You can keep the yolk in a different bowl and if you are not using it for the recipe, don’t throw it away. I usually mix a little milk in the yolks, whisk them with some salt and pepper and make myself scrambled eggs.


My final tip to you, find a good recipe and trust it. Most of our home baking fails because we start improvising too soon. Remember extra flour will dry up the baked product and extra milk will make the batter too thin thus increasing the baking time. You can bake the perfect cake; all you need to do is follow the instructions as they are.

I hope you use these tips for your next baking adventure. 


Photo features: Homemade Pecan cake with Rum frosting

Recommended Reading: