
I am always interested in easy recipes. Yes, baking a huge multi tiered cake for a special occasion is always fun. However, I believe there should be a couple of easy recipes which you can bake within a short time. This Victoria Sandwich cake is one of those easy bakes you will want to prepare time and again. I got this recipe from Mary Berry's BBC website. This is a traditional and classic recipe and makes for a tasty tea-time treat.
I don’t think I will ever go back to just buying a cake from the bakery. All of my homemade cakes taste so fresh. They may not always be a show stopper but they taste so much more! Plus, I get to lick the bowl and Debarshi and I get to sweetly offer each other the last slice. The biggest happiness is, sharing it with your friends and loved ones.

Victoria Sandwich is one of those homey cakes which can be prepared very easily and within a short time. If you have friends coming over for tea or just want to bake a quick dessert nothing goes better than Victoria Sandwich. I am sure other flavors of tart jam will also go very well (like Strawberry, Apricot or Blackberry) making it versatile. Just make sure to use the best quality of jam or preserve because it will enhance the overall flavor. I used Bonne Maman.

A fun fact about the cake – here I have converted all the measurements into cups but originally it was in ounces. ½ cup = 4 oz. Do you see it now? Everything weighs the same! Flour, butter and sugar are each of 4 oz. I guess all the old recipes follow this same weighing technique, after all it is so easy to remember!
Again, why this cake? because it uses my favorite method – all in one. This means that all the ingredients of the cake will be added together, mixed until smooth and then baked. Easy Peasy! I used my stand mixer to mix the batter. If you would rather prefer creaming the butter and sugar first, you can always do that. However, the result (in this case) will be the same.
I am sure I saw this cake in the bakery shops during our London trip. However, due to its simple decoration I must have skipped it. Little did I know that I was judging the book by its cover! This soft well risen cake dusted with sugar looks like a delicious holiday treat!
Another thing I didn’t know about this cake was, it was named after the Queen herself. Yes, I am talking about Queen Victoria who used to enjoy this cake with her afternoon tea. Well, don’t we feel royal. It was originally baked in the shape of a long loaf, filled and cut into fingers or ‘Sandwiches’. With time its shape changed from loaf to round and the recipe got improvised as well. You may see me below cutting this cake on my birthday party but mind you, this cake is not meant for elaborate celebrations. This is a small everyday cake meant to accompany tea or in my case – Coffee.

When I baked and filled this cake I had no idea that I was actually following the original recipe! It so happened that I was going to pick Strawberry Jam when Debarshi said, let’s take Raspberry. Later I read that traditionally this cake was only filled with Raspberry Jam and dusted with sugar on top and I thought, Wow! Nailed it the very first time.
Victoria Sandwich is a dense cake and hence many recipes suggest serving/ layering it with whipped cream or buttercream. I chose to bake the original simple version because it goes very well with a cup of hot tea or coffee. Plus, because it does not have any cream in it, it stays better. I think I will continue to fill it only with raspberry jam because this cake tastes so good just like that. It does not have any additional flavoring in it which is great because the buttery, tender sponge cakes with the thick layer of jam is very indulging on its own. Debarshi and I shared a piece with our morning coffee and it tasted so good that we both got seconds.

The original recipe asks for Self Raising Flour which as it happens I never have in my pantry! Self raising flour is actually all purpose flour (1 cup) with baking powder (1 ½ teaspoons) and salt (½ teaspoon). So, instead of going to the market in the snow storm (Kansas City is having a lot of snow this year!) I went with the all purpose flour and adjusted the quantity of baking powder and added salt.
When serving in tea parties, you can bake several batches of small cakes and fill them up with different flavors of jams and preserves. Fill some with whipped cream and others with buttercream. It will seem that you have baked varieties of cakes whereas technically you have only baked one. You can also fill/ top/ serve the cake with some fresh fruits. Hopefully your friends will also love this cake as much as mine did.
Try this cake and post in the comments section your feedback. Any ideas and suggestions are welcome.
Ingredients:
- Eggs – 2, large
- Butter - 4 Oz (or 1 stick), Unsalted, softened, plus a little extra to grease the tins
- White Sugar – 112.5 grams, plus a little extra for dusting the finished cake
- Self-Raising Flour – 112.5 grams
- Baking Powder – 1 teaspoon
- 2 X 6 inch pans - greased and lined (please use butter and parchment paper)
To make self raising flour at home you need:
- All-Purpose Flour - 1 cup (120g)
- Baking Powder - 1 ½ teaspoons
- Salt - ¼ teaspoon
Sift together all three ingredients then measure before adding in the cake, you only need 112.5 grams.
For The Filling and Topping:
- Raspberry Jam or Preserve – 2 tablespoons (I recommend Bonne Maman)
- A little icing sugar, for sprinkling
- Whipped Cream – 1 cup (optional)
Directions:
- Measure all the ingredients and keep them aside. Make sure the butter and eggs are at room temperature.
- Grease the baking pans. Use butter for better coating. Line the bottom of the tins with a circle of parchment paper and grease them as well.
- Preheat the oven to 350 F.
- Break the Eggs into a large mixing bowl, add the Sugar, Salt, Flour, Baking Powder and Butter. Mix everything together until well combined.
- Tip: Be careful not to over-mix – as soon as everything is blended you should stop. The finished mixture should be of a soft ‘dropping’ consistency. Don’t worry if the batter appears curdled. It has no bearing on the cake (just look at the batter in my video).
- Divide the mixture evenly between the tins. Use a spatula to remove all of the mixture from the bowl and gently smooth the surface of the cakes.
- Bake in the pre-heated oven for about 20 minutes or until well risen. Don’t be tempted to open the door while they’re cooking. Use a skewer to check if the center has been cooked through. The cakes are done when they’re golden-brown and coming away from the edge of the tins. Press them gently to check – they should be springy to the touch.
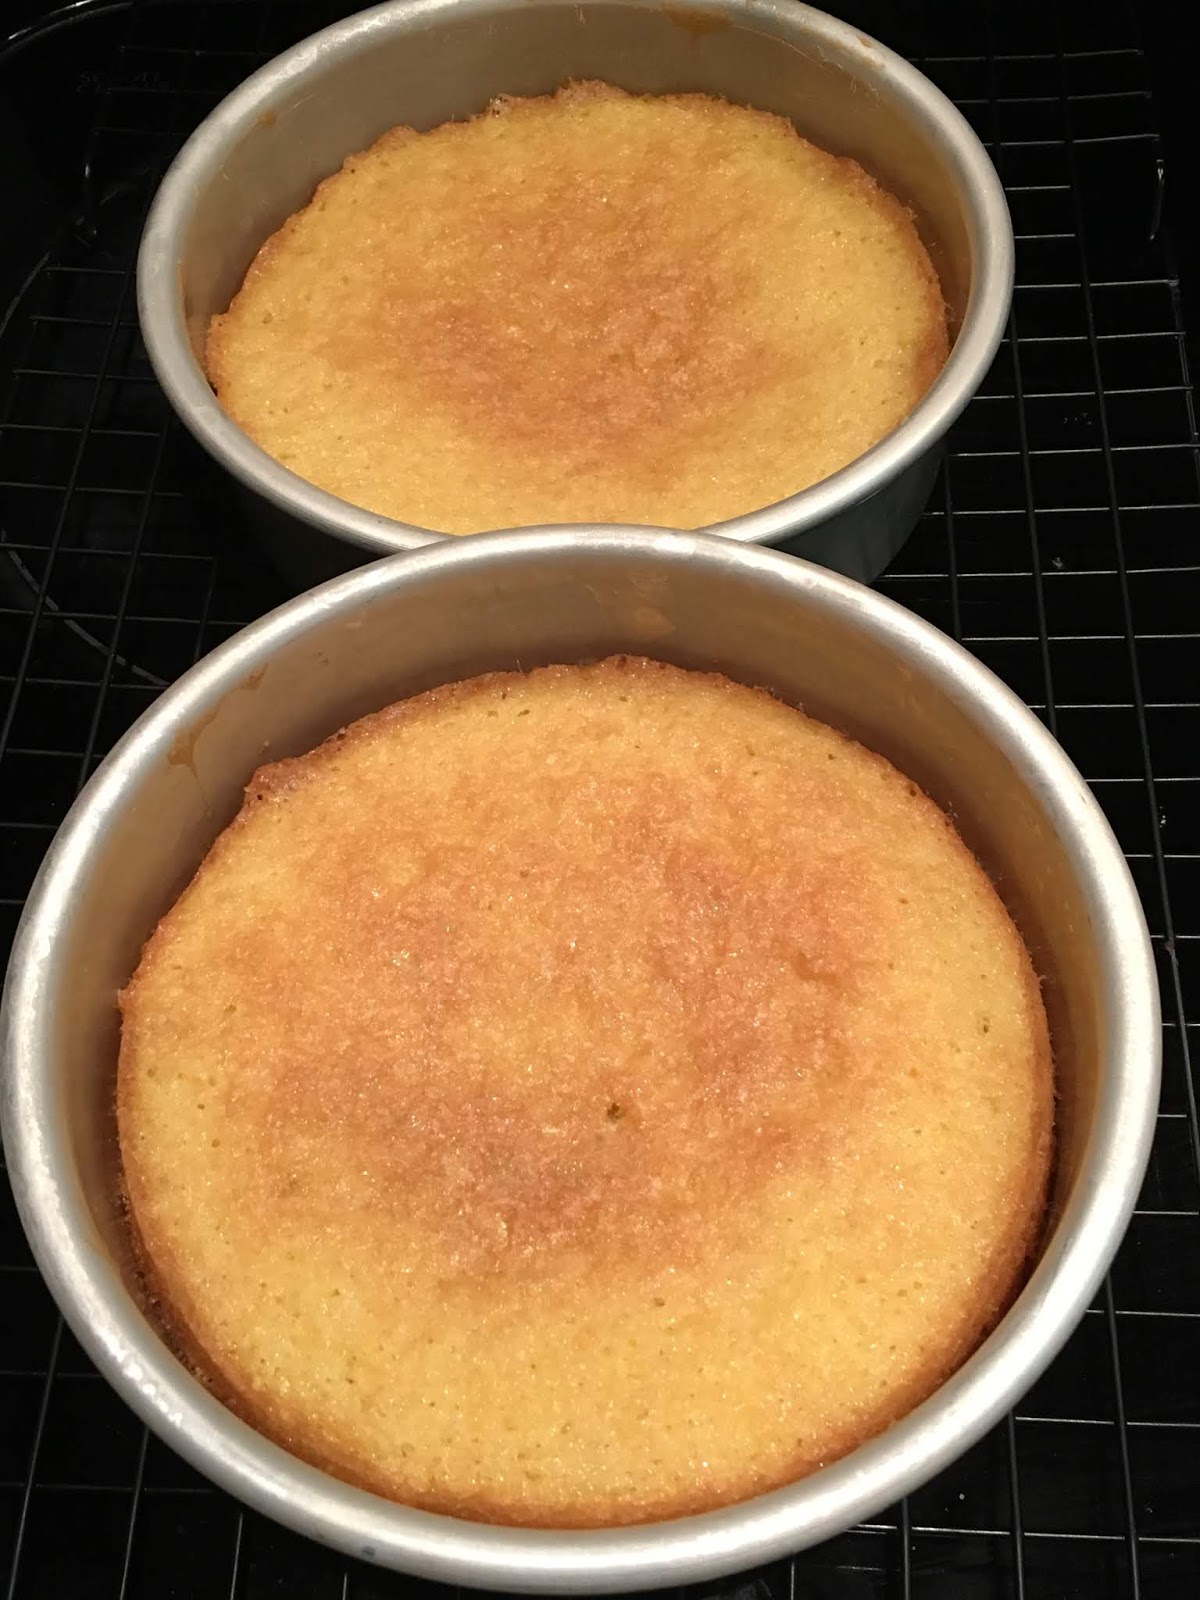
- Remove them from the oven and set aside to cool in the tins for 5-10 minutes. Then run a palette or rounded butter knife around the inside edge of the tin and carefully turn the cakes out onto a cooling rack.
- When completely cold, choose the sponge with the best top. Sandwich the cakes together with the jam (use an offset spatula to spread the jam). Sprinkle with icing sugar to serve. You can also decorate with whipped cream and strawberries.
- Enjoy this delicious Victoria Sandwich cake with Tea or coffee.

Some more easy recipes you may like:


