
If you have been following my blog, you must have read the word ‘Ghee’ several times in the list of ingredients. I love adding a dollop of ghee in whatever I am cooking. I think it adds a beautiful fragrance and gourmet flavor in the dish. Ghee is not only used in our everyday dishes (like Dal, Parathas and Curries) but also for the connoisseur’s items (like Biryani and Kababs). Apart from this, Ghee is widely used in the preparation of Bhog (meals offered to Gods) and is also added in Charanamrit (a thin beverage offered to Gods prepared with Milk, Sugar, Honey, Ghee and Yogurt). Ghee is also used in rustic dishes (like Litti Chokha – a dough ball prepared with roasted chick pea flour, served with cooked mashed eggplant dish and topped with lots of Ghee to make it moist) and comfort foods (like Khichuri and Dal). Ghee also rules the dessert market (Payesh and Halwa). But enough about where it is used, let me tell you how it is made:
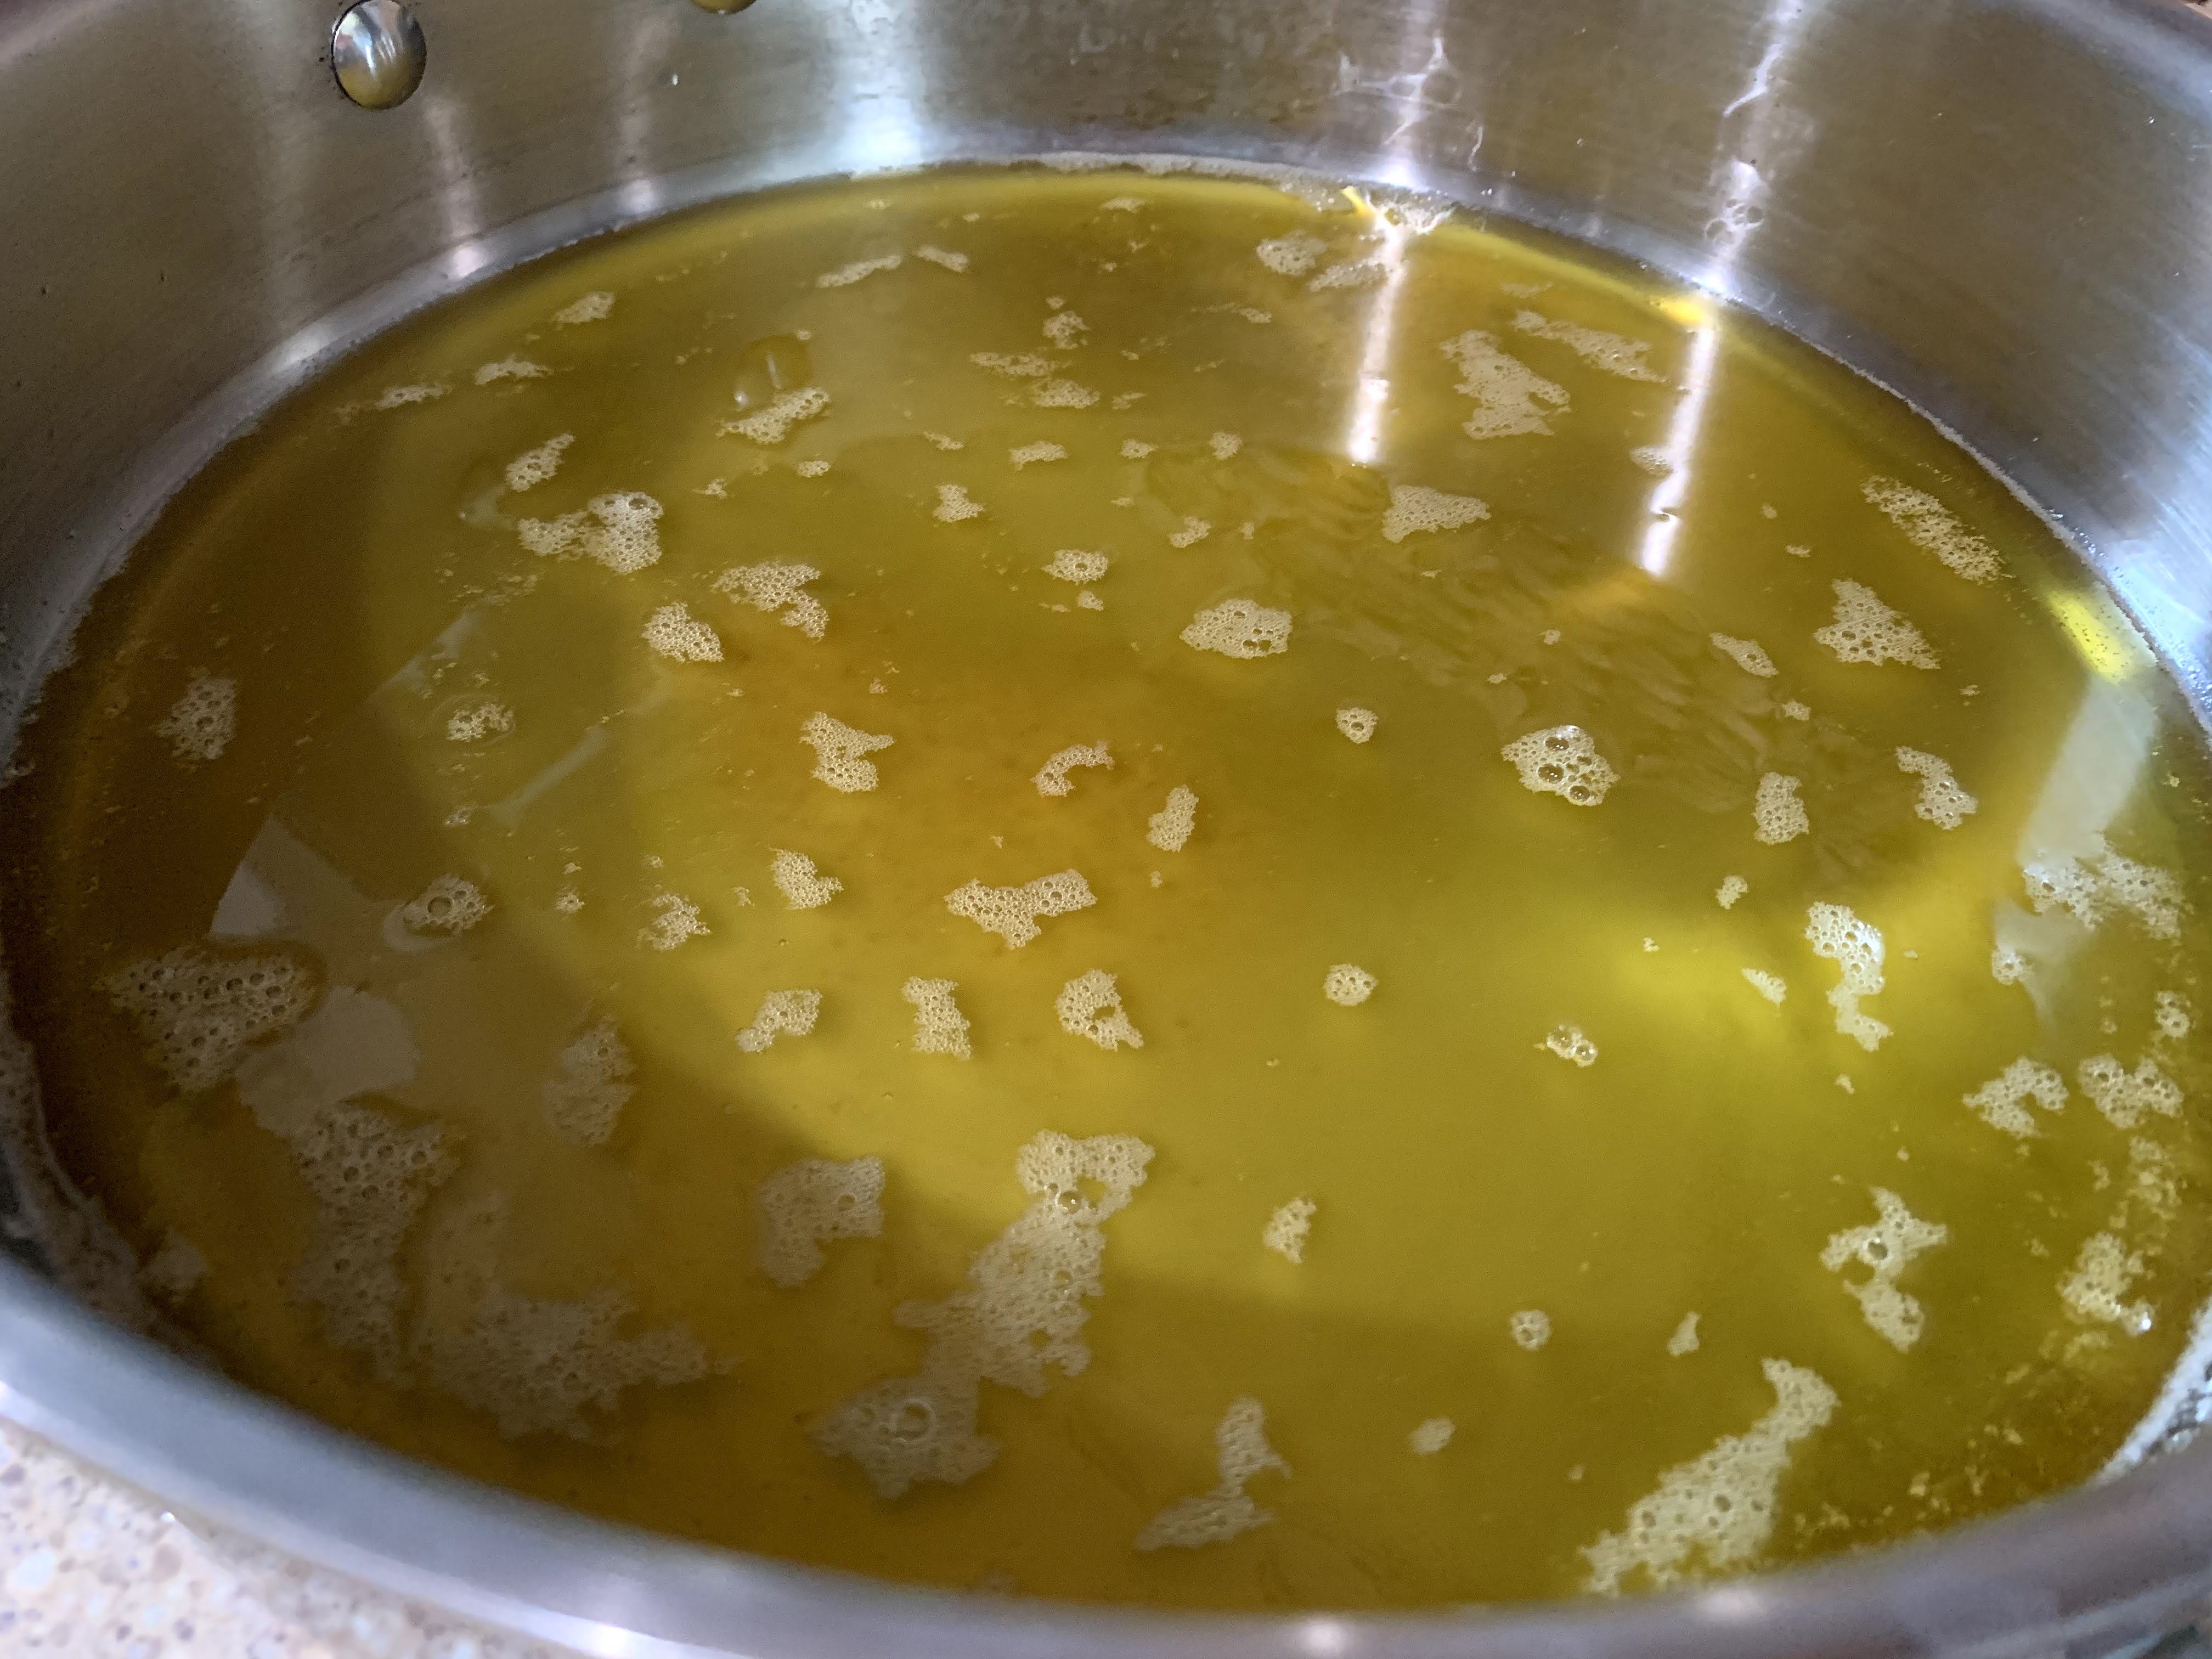
Ghee is made by boiling cream till the milk solids separate. Once you strain the milk solids you will be left with a beautiful golden colored clear liquid fat. This is Ghee! I did find several methods online to prepare Ghee at home but I am going to share with you the simplest method which I have seen my mom follow all these years.
Growing up I used to wait for days for mom to collect all the heavy cream. She used to boil the fresh milk everyday and once it would cool down she would scrape the top layer of the thick cream and keep it aside in a bowl. This cream was kept refrigerated and everyday a fresh layer of cream was added on top of it. Then after a week or so (or whenever enough cream had been accumulated) would be the day to make the Ghee. Mind you this is a smelly process. My mom used to warn everyone in advance to plan our day. Then she would start boiling the cream, stirring it often. I think this is the most difficult stage of the whole process. The initial smell of the boiling thick spoiled cream is not easy to bear. But if you can surpass it somehow you will be rewarded with a sweet buttery liquid or Ghee.
For those of my friends who live in an apartment or who don’t have a window in their kitchen, please be advised to start the exhaust fan and Central Air system of your apartment/ home before starting the process. The smell of the the spoiled cream lingers on and although you will soon get used to it (because you will be cooking), any other person will find it unbearable.
If you are thinking, this is too much hassle just to use the spoiled cream, then let me remind you that once you prepare the Ghee it can be kept at room temperature or in fridge for a really good amount of time. Also, you will get more than half of the cream back in the form of Ghee and the other half will be milk solids (also called Khakhri). Although this may be an acquired taste, let me tell you, khakhri tastes absolutely wonderful with some hot steamed rice and salt. So, you are in a win win situation here. You get to use the spoiled cream and taste a new thing!
Make sure to always use a clean spoon for scooping out the ghee. Keep it in an airtight container on your kitchen counter or in the fridge. During summer, if you are not using it frequently, it is best to refrigerate it. It will get firm once it gets cold so bring it to room temperature before using it.
Ghee can be used to sear or sauté foods on high heat. Since the milk solids have been removed, Ghee has a really high smoking point. You can use Ghee to prepare any dish but to help you start I have listed a couple of dishes (see Recommended Reading).
Ingredients:
- Spoiled Heavy Cream (quantity doesn’t matter)
Others:
- A good non-stick pan or a big heavy bottomed pot/ wok
- A rubber spatula
- An oven safe small dish (to transfer the hot Ghee)
- A metal strainer

Directions:
- Transfer all the spoiled cream into the pot and bring it to a boil. If it starts splattering too much then reduce the heat. Stir occasionally.

- You will soon see the cream changing color. Keep stirring occasionally and turn down the heat to medium low.


- Continue to cook the cream. Make sure to keep a close watch on it and stir it occasionally. Once you start seeing golden liquid floating with the cream, it means the Ghee has started to separate. Keep an oven safe dish and metal strainer handy.

- You may cook all the cream and then strain it in the bowl. I had a small strainer so I started transferring couple spoonfuls of ghee into the bowl at this stage.
- After a while, when you see only thick layers of cream remaining in the pot you may increase the heat a bit and allow it to boil quickly. It will turn foamy so be very careful. Keep stirring.
- When you see amber brown solids sticking on the spatula, it means the Ghee is ready and there is no more cream left to be boiled. It will also smell sweet.
- Turn off the heat and remove the pot from the stove.
- Let it cool down for a few minutes.
- Transfer the hot Ghee very carefully into the metal strainer. The milk solids will collect on the strainer and the Ghee will drop into the bowl below.
- Let it sit for a while so that all the ghee can transfer from the milk solids into the bowl.

The ghee will solidify at room temperature but you can easily scoop it out with a clean spoon.


I will say this is the yummiest Ghee I have ever had. No store bought Ghee can stand before this.
Recommended Reading (Some recipes where you can use Ghee):
- Yummy Almond Flour Bread with Ghee and Spices
- Kadhi (Gram Flour Fritters in Yogurt Sauce)
- Doi Mach (Bengali Recipe: Succulent Fried Fish in Yogurt Gravy)
- Kasuri Methi Paratha (Fried Flatbread with dried Fenugreek Leaves)
- Moonger Daler Khichuri (One Pot dish with rice, lentils and vegetables)
- Moonger dal (Yellow Lentils soup)
- Awadhi Mutton Biryani
- Chaler Payesh (Bengali style Rice Pudding)
- Gobindobhog Chal diye Patali Gurer Payesh (Bengali Rice Pudding with Date Palm Jaggery)
- Paneer Alu Pulao (Rice with Fresh Cheese and Potato)
- Matar Pulao (Yellow Rice with Peas)
- Mutton Gravy
- Make Homemade Butter from Spoiled Cream
- Arhar Dal (Toor Dal or Split Yellow Pigeon Peas Soup)
- Moong Dal ka Halwa (Indian Yellow Lentils Dessert)
- Jeera Rice (Rice flavored with Cumin Seeds)
- Mughlai Mutton Stew
- Cholar Dal (Bengali recipe: Chana Dal/ Split Bengal gram)
- Shahi Pulao (Indian Jeweled Rice)
- Chingri Malai Curry (Shrimp Curry with Coconut Milk)
- Goat Dhansak (Mutton with Red Lentils)
- Alu Potol Kumror Dalna (Potato, Pointed Gourd and Pumpkin curry)
- Dry Fruit Laddu (Mamma’s homemade sweets with dry fruits)
- Mamma’s Mixed Vegetables
- Borboti Alur Torkari (Beans sautéed with spices and Potatoes)
- Paneer Bhurji (Crumbled Fresh Cheese with sautéed Onions)
- Debarshi’s Chicken Tikka Biryani
- Chicken and Barley Puree with Sweet Potato or Butternut Squash
- Khichri (Lentils and Rice with Garden Veggies Puree)
- Red Lentils Puree with Turnip, Zucchini, Sweet Potatoes and aromatic Cloves
- Gujiya (Crispy Flaky Indian Sweet Dumpling stuffed with Milk Solids and Nuts)
- Cholar dal diye Kumror Torkari (Mamma’s Pumpkin Gravy with Split Bengal Gram)
- Papa’s Kosha Mangsho (Grandpa’s Special Goat Curry)
- Mangsho Bhat (Chicken Rice with Potato and Tomato)
- Mamma’s Matar Paneer (Peas and Indian Cottage Cheese in a tomato gravy)
- Chole Chawal (Chickpea curry with Rice)
- Shahi Paneer (Indian Cottage Cheese in a creamy gravy)
- Cardamom Chicken with Vegetables for the Babies
- Biye Barir Alur Dom (Spiced Potato Gravy as served in Bengali Weddings)
- Shadi wala Masala Gobhi (Spiced Cauliflower with Potatoes as served in North Indian Weddings)
- My Non-Traditional Sukhto (Bengali recipe: Mixed Vegetables)
- Baby Food: Chicken Broccoli Fried Rice/ Casserole
- Kalo Jeere Ghee diye Alur Torkari (Potatoes with Nigella Seeds and Ghee)
- Chana Masala/ Chole Masala
- Gajar ka Halwa (Indian Carrot Dessert)
- Mixed Dal with Cilantro (Arhar-Masoor Dal with Dhania garnish)
- Bandakopi Alur Torkari (Mamma’s Cabbage in curried Potatoes)
- Hariyali Ghosht - Herbed Goat Curry
- Panch Mesali (Bengali recipe: Mixed Vegetables)
- Saag Chole (Curried Spinach and Chickpeas)
- Egg Curry (Bengali recipe: Fried Eggs curry)
- Kashmiri Rogan Josh (Slow cooked mutton in red curry)


